


Revamping your kitchen or bathroom with cabinet painting can breathe new life into your space without needing a complete remodel. Cabinet painting is an affordable way to update the look of your cabinets, offering a fresh and modern aesthetic that can significantly enhance your home’s interior.
Achieving stunning results requires more than just a coat of paint—attention to detail and proper preparation are important. This guide will provide essential tips for ensuring your cabinet painting project turns out flawlessly. From selecting the right paint to mastering the application process, these strategies will help you achieve a professional finish and transform your cabinets into standout features of your space.
Choosing the Right Paint for Cabinet Painting
Selecting the right paint is essential for a successful cabinet painting project. Begin by choosing high-quality paint that is specifically formulated for cabinetry. Acrylic latex paints are famous for their durability, ease of cleaning, and minimal odor. For a glossy finish, consider using an enamel paint, which provides a sleek and professional look.
Though less common, oil-based paints are known for their smooth application and long-lasting finish. However, they have a more pungent odor and longer drying times. Ensure the paint you choose is compatible with your cabinet material and offers good adhesion to avoid peeling or chipping. Testing a small sample on a hidden area can help determine how the paint will look and perform on your cabinets.
Preparing Your Cabinets for a Smooth Finish
Proper preparation is essential for achieving a smooth and durable finish when painting cabinets. Start by removing all hardware, including knobs and hinges, and cleaning the surfaces thoroughly to eliminate grease and dust. Sanding the cabinets is essential to create a rough surface that allows the paint to adhere better.
Use fine-grit sandpaper to remove any old paint or finish and smooth out imperfections. After sanding, wipe down the surfaces with a tack cloth to remove dust. A high-quality primer can help seal the wood, enhance paint adhesion, and improve the finish. Ensure the Primer is completely dry before applying your topcoat for the best results.
Essential Tools for Perfect Cabinet Painting
Having the right tools is vital for a successful cabinet painting project. Invest in high-quality brushes and rollers designed explicitly for smooth finishes. A 2- to 3-inch angled brush is ideal for detailed work and corners, while a foam roller can help cover larger flat surfaces evenly. A good-quality paint tray and liner will make the application more accessible and reduce mess.
Consider using a paint sprayer if you’re comfortable with the technique for a flawless finish, as it can provide a more even coat. Additionally, having painter’s tape on hand will help protect adjacent surfaces from accidental paint splatters. Proper tool maintenance, including cleaning brushes and rollers immediately after use, will extend their life and ensure the best results.
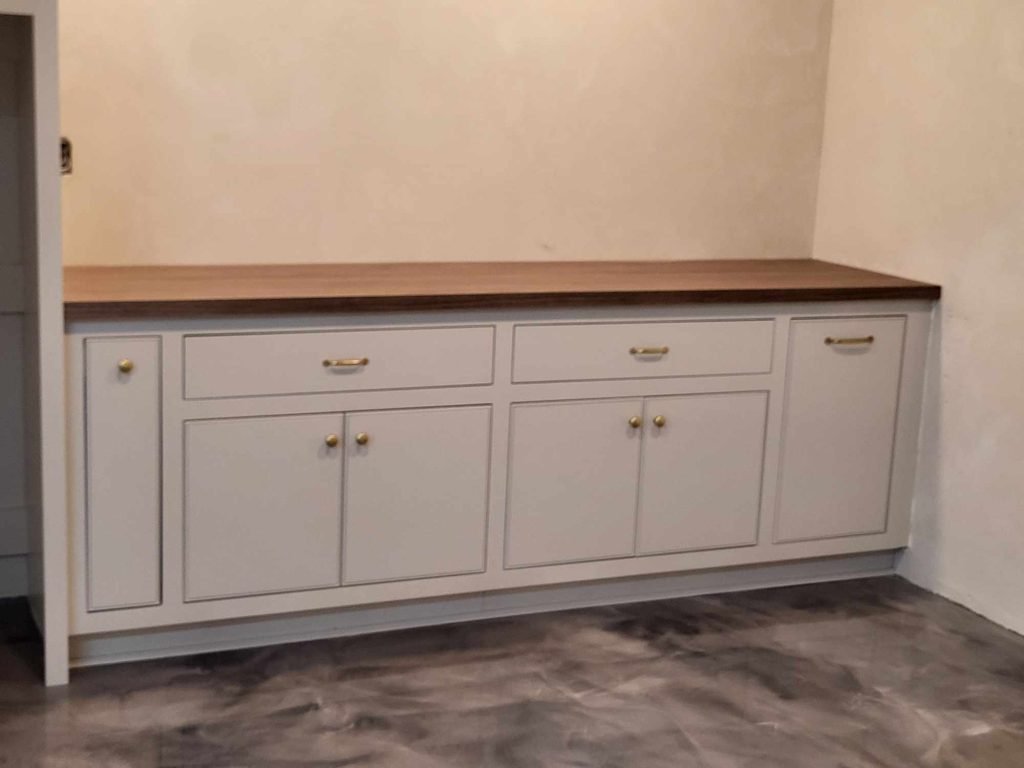
Selecting the Best Color and Finish for Cabinets
Choosing the right color and finish for your cabinets is essential for creating your space’s desired look and feel. The color and finish you select can significantly impact your room’s overall ambiance and functionality.
- Light Colors: Light shades like white or cream can make a small room appear larger and brighter, enhancing the sense of space and openness.
- Dark Colors: Rich, dark hues such as navy or charcoal add sophistication and depth, making them ideal for larger spaces or creating a dramatic contrast.
- Matte Finish: A matte finish offers a subtle and contemporary look that helps hide imperfections, making it an excellent choice for a modern aesthetic with minimal maintenance.
- Glossy Finish: Glossy finishes reflect light, adding a shiny, polished look. They are durable and easy to clean, perfect for high-traffic areas like kitchens.
- Color Coordination: When selecting colors, consider how they will coordinate with existing elements in your space, such as countertops, flooring, and wall colors, for a harmonious look.
Techniques for Even and Professional Paint Application
Achieving an even and professional paint application demands precision and attention to detail. Apply paint in thin, uniform coats to prevent drips and streaks. Choose a high-quality brush or roller designed for cabinetry to ensure a smooth finish. When using a brush, apply paint with long, even strokes and avoid over-brushing, which can lead to unsightly brush marks.
If using a roller, apply the paint in a consistent, overlapping pattern to distribute it evenly and minimize lines. Allow each coat to dry thoroughly before applying additional layers to avoid imperfections. For a flawless finish, lightly sand between coats with fine-grit sandpaper to smooth out any uneven spots or brush strokes, ensuring a professional and polished look.
How to Handle Different Cabinet Materials
Different cabinet materials require specific handling and preparation techniques for a successful paint job. Wood cabinets are the most straightforward to paint, but they need proper sanding and priming to seal the grain and ensure good paint adhesion. On the other hand, laminate cabinets require extra preparation, such as cleaning thoroughly and using a bonding primer to help the paint adhere.
For metal cabinets, remove any rust and apply a primer designed for metal surfaces. Each material has unique properties, so understanding how to prepare and paint them correctly will help you achieve a smooth and long-lasting finish. Always check the manufacturer’s recommendations for the best results.
Common Mistakes to Avoid in Cabinet Painting
Achieving a flawless cabinet painting job requires avoiding common pitfalls that can impact the final result. By steering clear of these mistakes, you can ensure a smooth, professional finish that enhances the appearance and durability of your cabinets.
Skipping Preparation
Proper preparation is essential for a successful paint job. Skipping steps like sanding and priming can lead to poor adhesion, uneven finishes, and peeling. Sanding smooths imperfections, while priming provides a uniform base and enhances paint durability. These steps are necessary for the final result to look professional and adhere properly.
Using Low-Quality Paint
Cheaper paint can compromise durability and appearance. Low-quality options often need more pigments and binders, resulting in consistent color and reduced longevity. Investing in high-quality paint ensures better coverage, color accuracy, and resistance to chipping. Such paint is also easier to clean and maintain its look over time.
Applying Paint Too Thickly
Applying paint in thick layers might seem efficient, but it leads to issues like drips and uneven surfaces. Thick layers dry slowly and can cause texture problems. Instead, apply multiple thin coats, allowing each layer to dry completely before adding the next. This approach ensures a smooth, even finish and prevents streaks.
Ignoring Drying Times
Proper drying time between coats is essential for a flawless finish. Applying new coats before the previous layer is dry can result in smudging and poor adhesion. Adhere to the manufacturer’s drying and curing guidelines to ensure each coat sets appropriately. This prevents imperfections and ensures a smooth, durable final finish.
Forgetting to Protect Surrounding Areas
Protecting your work area is vital to avoid paint splatters and stains. Floors and adjacent surfaces can get messy without proper coverage, requiring extra cleanup. Use drop cloths for floors and furniture and painter’s tape to shield areas that shouldn’t be painted. This preparation helps maintain a clean workspace and a polished result.
Drying and Curing Times for Optimal Results
Understanding drying and curing times is essential for achieving the best results in cabinet painting. Drying time refers to how long it takes for the paint to become touch-dry, which usually ranges from 1 to 4 hours, depending on the type of paint and environmental conditions.
Curing time, however, is required for the paint to fully harden and reach its maximum durability, which can take up to 30 days. To prevent damage, avoid using or placing items on the painted cabinets until they are fully cured. Proper ventilation and optimal temperature and humidity levels can speed up the drying process and ensure a smooth, durable finish.
Maintaining Your Newly Painted Cabinets
Maintaining your newly painted cabinets is essential for keeping them looking fresh and new. Start by regularly cleaning the cabinets with a mild detergent and a soft cloth to remove dust and grime. Avoid using harsh chemicals or abrasive cleaners that can damage the paint. For spills or stains, promptly clean them up to prevent them from setting in.
Touch up any chipped or scratched areas with leftover paint to keep the cabinets looking pristine. Additionally, ensure that cabinet hardware is well-maintained and free from rust or corrosion. Proper care will extend the life of your paint job and keep your cabinets looking beautiful for years to come.
Budget-Friendly Tips for Cabinet Painting Projects
Revamping your cabinets doesn’t have to break the bank. With these budget-friendly tips, you can achieve a beautiful finish while keeping costs in check:
- Choose Affordable Paint Brands: Opt for quality paints from budget-friendly brands to get the best value. Look for sales or discounts to save even more on your paint purchases.
- Use Primer Wisely: Use a primer that acts as a base coat to reduce the number of layers needed. This helps save both time and money.
- Purchase Supplies in Bulk: To reduce costs, buy painting supplies in bulk or during sales. Items like brushes and rollers are often cheaper when purchased in larger quantities.
- Refurbish Existing Hardware: Instead of buying new hardware, clean and repaint your existing cabinet knobs and handles. This simple update can save money and add a fresh touch.
- Opt for Minimalist Designs: Choose simple, elegant designs that require less paint and fewer materials. This approach reduces overall costs while still giving your cabinets a modern look.
By following these tips for cabinet painting, you can transform your space with a professional and polished look. Proper preparation, materials, and techniques are essential to achieving stunning results. Whether refreshing your kitchen or giving your bathroom a makeover, investing time in these steps ensures a durable and attractive finish. With the right approach, your cabinet painting project can significantly uplift your home’s aesthetic.
Ready to transform your cabinets? Contact Full Coverage Painting for expert cabinet painting services in Vacaville, CA. Our team ensures top-quality results that will refresh your space beautifully. Call or text us at 707-384-5108, or visit us at 600 Buckeye St., Vacaville, CA 95688, to schedule your consultation today.

